Painting Tips and Tricks

Painting is never easy for an ordinary individual. It makes us hire a professional to get an idea on how we can simply beautify the exterior and interior of our houses. Moreover, the painting that we do for our home has such a big impact in maintaining cleanliness as well.
Give your house a fresh, updated look with exterior paint.
Let us start with Exterior Painting. At this point, we will learn the importance of painting our home from the outside and the value it gives to maintain and attract attention in your surroundings.
A fresh paint job on the outside makes your house look nicer and last longer.
You want to repair and repaint as soon as you notice paint starting to crack, blister, and peel. Ignoring these problems will lead to a much more extensive and expensive job.
Below are seven exterior painting tips every homeowner should know, whether you're planning to paint the house yourself or hire a pro.
Paint Options
There are two basic types of exterior paint:
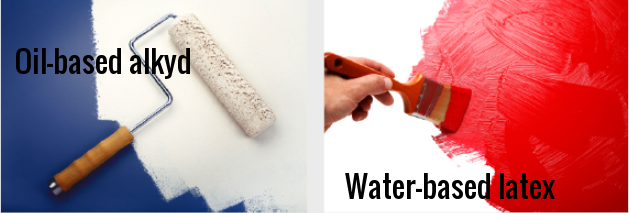
1.Oil-based alkyd
Alkyd paints require mineral spirits (paint thinner) for cleanup as opposed to just soap and water. But many professional painters prefer alkyd paint because it's durable, stain-resistant, flows very smoothly, and dries with fewer brush marks. But alkyds have a strong solvent smell and dry very slowly.
2.Water-based latex
Latex cleans up with soap and water, dries quickly, has low odor, and remains flexible longer so it's less likely to crack. The best quality latex paints contain 100 percent acrylic resins.
The one you choose is up to you. Just remember that if you're applying latex paint over an existing alkyd paint, you must first prime the surface to ensure the new topcoat will adhere to the old oil-based paint.
Paint Prices

There's no absolute formula for picking the best paint for your home. Most paint manufacturers offer a wide variety of paints ranging from good to better to best. As a general rule, budget how much you want to spend on the project and then buy the best paint you can reasonably afford, because cost is an excellent indication of quality. Expensive paints contain more pigments than bargain paints, so they produce a thicker, longer-lasting, more protective coating.
Read the Label
Few homeowners bother reading the tiny print on the paint can label, but they should. There's a wealth of information printed right on the can that can help you produce a beautiful paint job. Pay particular attention to the instructions about prepping the surface and outdoor air temperature. Most paints shouldn't be applied when the temperature is 50 degrees F or colder. But some paints are specially formulated for application when the temperature is as low as 35. Just take the time to read the label before you start painting and before the label becomes smeared with paint and impossible to decipher.
Prep the Surface
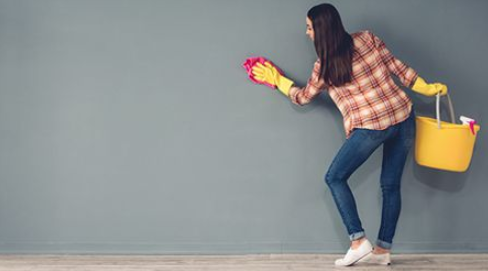
For the new paint to adhere to the surface, you must clean the house's exterior of all dirt, grime, mildew, and chalky residue. A power sprayer provides the easiest way to accomplish this, but hand scrubbing with a stiff-bristle brush is just as effective and often doesn't take much longer because it requires little preparation and setup time.
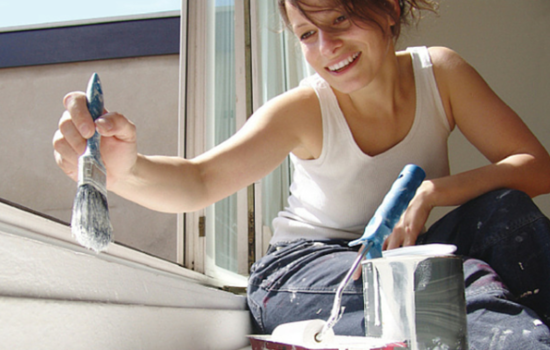
Roller or Brush? Yes!

The fastest, most effective way to apply exterior paint is with both a paintbrush and a roller. Brush paint onto narrow surfaces, edges, and smaller areas, and use a short, small-diameter roller to paint large and long surfaces such as siding and trim.
Start in the Shade
Painting in direct sunlight or applying paint to a sun-baked surface will make fresh paint dry too quickly. As a result, it won't adhere well and will blister and flake prematurely. So begin painting on the shady side of the house. (If the surface is damp, wipe it dry.) Then wait for sun to move and the other sides of the house to become shaded—or just paint on an overcast day.
Take it From the Top
Start painting near the top of the house and work your way down. Apply paint to the butt or bottom edge of the siding first, then paint the broad surfaces. To avoid lap marks, always try to brush from one wet surface onto another wet surface. When that's not possible and you must paint onto a previously painted and dried surface, overlap onto the dried-paint surface by several inches.
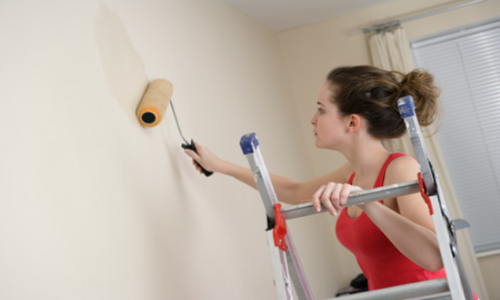
And since you'll be working high up, don't forget basic ladder safety: Don't overreach too far to the side or you might topple over. Try to keep your hips within the horizontal rails of the ladder. It's much smarter to climb down, move the ladder, and climb back up than to risk falling.
Now, let us move on and learn on tips for improving our Home from the inside. An interior painting is important as much as exterior painting.
You've decided to paint a room in your home and you're ready to get started. Or are you? Before you start slapping paint on the walls, check out these painting tips that will make your job easier and make it look like it was done by a pro.
Choose a Color

Choosing a color is the hardest part. What's most important is to find one that will create the desired mood and make you happy. If you really don't have any idea about what color to paint, try pulling a color out of a piece of art or area rug that's in the room. It's a guaranteed way to find a complementary color.
Take home several paint chips and see how they look in the room. Hold them up to the furniture, floors, artwork, cabinets, and anything else that's already in the room. Try to narrow it down to three or four choices. Get a small sample pot of each color and paint a large square on the wall.
Watch how the color changes as the sun moves across the sky and the amount of light in the room changes.
Paint Effects

Don't be afraid to think outside the box and try some different paint effects. There's a lot you can do with paint so there's no need to do the walls all in the same color. Some fun techniques include color blocking, stenciling, and color washing. You can use different colors on the same wall, or for a subtle effect, you can use different finishes. For example, try painting a wall in a flat finish and then stenciling a design (such as damask) overtop with a glossy paint. The effect is subtle yet elegant.
Determine the Amount of Paint Needed

Add the width of all the walls in the room together and multiply the number by the height of one wall (from floor to ceiling). Take the total and subtract the total area of all the doors, windows, archways, etc. This will get you the exact area of wall space you'll need to paint. A general rule of thumb is that a flat surface usually requires one gallon for every 400 square feet. Take into account how many coats you think you'll need to do.
Prepare to Paint
Proper preparation is one of the most important painting tips and is key to getting a professional-looking paint job.
Move anything out of the room that might get in the way and remove all necessary hardware and fixtures.
Wipe down the walls with a solution of water and a little bit of dish soap. This will remove dirt, dust, and grease.
Fill any cracks with plaster filler and sand down any surfaces that will be painted. Wipe off any excess dust from the sanding with a damp cloth.
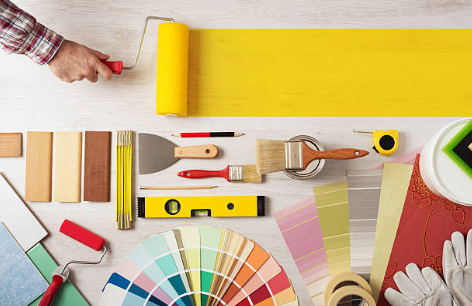
Make sure you have all the brushes, rollers, and paint trays you will need before starting. Having to take a break in the middle of painting to run to the hardware store will be frustrating and slow you down.
Tape off Areas to Be Painted
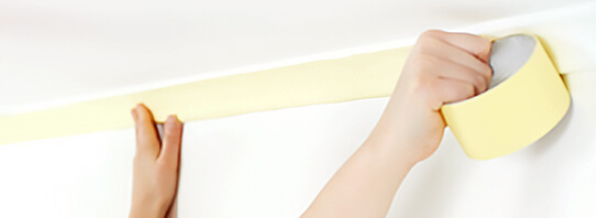
It's time-consuming but it's worth it. Use painter's tape to tape off the trim, ceilings, windows, doors, and any other necessary areas. It will ensure you get a nice straight line and you don't cross over onto an area you don't want to be painted.
Paint From the Top Down
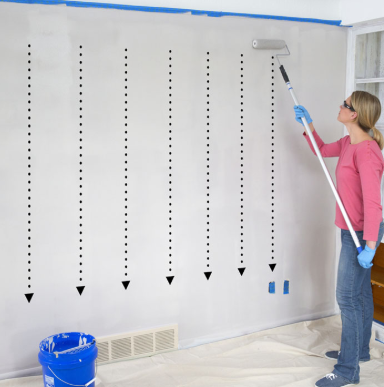
Always start painting from the highest area to the lowest. Start with the ceiling or top of the walls and work your way down. This way you can catch any drips and it won't ruin a freshly painted wall.
Thin Coats Are Better Than Thick

One of the biggest mistakes people make is to put too much paint on the brush. It's far more effective to put a small amount on the brush or roller and use long, even strokes to apply thin coats. It's tempting to slather on a lot of paint in the hopes of not having to do another coat, but the end result won't look as good. Several thin coats will do a better job of covering the walls than one thick coat.
Paint the Trim Last

There's some debate on this topic, but quite often the trim can catch some of the spray that comes off of paint rollers. For this reason, it's best to paint the trim last since it will be done with a brush and excess paint won't get on the walls.
Get to Know Us
Who We Are
At Paint Heroes we offer practical, real-life tips and inspiration to help you create your best home.
Contact Us
Thanks for dropping by! Whether you have a comment or suggestion to share, we look forward to hearing from you. For more general feedback, feel free to reach out by visiting our website
@ https://www.paintheroes.com/seattle